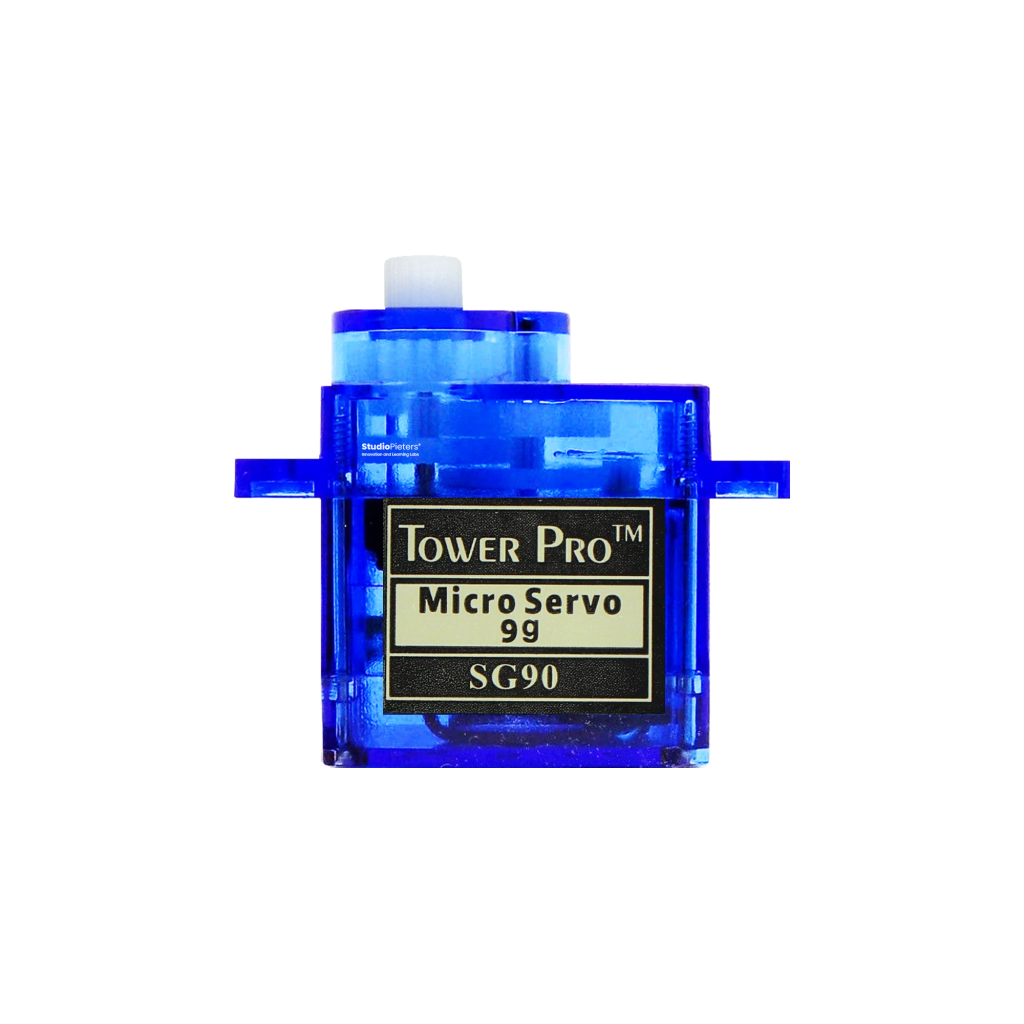
The SG90 is one of the most widely used micro servo motors in the world. Affordable, compact, and highly versatile, it’s ideal for everything from robotic arms to pan-tilt camera systems and DIY automation. Whether you’re just getting started or you’re building a complex embedded system, the SG90 delivers reliable motion control in a lightweight package. In this guide, you’ll learn everything about the SG90 servo pinout, including best practices and integration tips.
What is the SG90 Micro Servo?
Micro Servo Motor: The SG90 is a miniature servo motor that provides rotational motion between approximately 0° and 180°. Unlike standard DC motors, servos allow precise position control using PWM (Pulse Width Modulation) signals.
Plastic Gear Construction: Internally, the SG90 uses plastic gears, making it lightweight (just 9 grams), though less durable than metal-gear alternatives.
Ideal for Low-Power Applications: Operating at 4.8V to 6V and drawing modest current, the SG90 is perfect for battery-powered and low-voltage embedded projects.

Designed for Precision and Simplicity
The SG90 servo’s compact size and 3-wire interface make it incredibly easy to use. Here are its key specifications:
- Operating Voltage: 4.8V – 6V
- Stall Torque: 1.8 kg/cm (4.8V)
- Speed: 0.1s/60° (4.8V)
- Rotation Range: ~180° (limited by internal stops)
- Control Signal: PWM (50 Hz)
- Weight: 9g
- Dimensions: 23 × 12.2 × 29 mm
The SG90 is ready to drop into most projects with no additional drivers, and works out-of-the-box with Arduino, ESP32, Raspberry Pi, STM32, and more.
The SG90 has three pins, clearly marked and color-coded:
| Pin | Wire Color | Function |
|---|---|---|
| 1 | Brown | GND (Ground) |
| 2 | Red | VCC (Power 4.8–6V) |
| 3 | Orange | PWM Signal |
⚠️ Important: Supplying more than 6V may damage the motor. Always double-check your power source.
SG90 Pinout – Wiring the Servo
Connecting the SG90 to a microcontroller is simple:
- Brown (GND) → Connect to Ground (GND) on your board.
- Red (VCC) → Connect to 5V (4.8–6V power source, regulated).
- Orange (Signal) → Connect to a PWM-capable digital pin (e.g., D9 on Arduino, GPIO17 on ESP32).
Example Setup (Arduino Uno)
SG90       →      Arduino
-----------------------------
Brown (GND)  →    GND
Red (VCC)    →    5V
Orange (PWM) →    D9 (PWM)
Example Setup (ESP32)
SG90       →      ESP32
-----------------------------
Brown (GND)  →    GND
Red (VCC)    →    5V (via external supply)
Orange (PWM) →    GPIO17 (PWM output)
Pro Tip: Use a separate power supply for 2 or more servos. Powering multiple servos from the microcontroller’s 5V pin may cause brownouts.
PWM Signal Basics
The SG90 uses a standard 50 Hz PWM signal to control angle:
| Pulse Width | Approximate Angle |
|---|---|
| 500 µs | 0° |
| 1500 µs | 90° (center) |
| 2500 µs | 180° |
A single control pulse every 20 milliseconds (50 Hz) tells the servo where to go.
PWM Signal Timing
- Min Pulse (0°): ~500 microseconds
- Mid Pulse (90°): ~1500 microseconds
- Max Pulse (180°): ~2500 microseconds
SG90 Application Scenarios
The SG90 is used in hundreds of practical applications, including:
- Robotic arms and grippers
- Pan-tilt camera mounts
- Door locks and hidden compartments
- Smart blinds and mechanical displays
- Educational kits and STEM robots
Best Practices and Common Mistakes
Maximize performance and lifespan by following these tips:
✅ Use an external 5V power source when using multiple servos
✅ Always use PWM-capable pins on your controller
✅ Limit rotation to prevent gear damage (avoid forcing beyond 180°)
✅ Avoid long stall states (holding torque) to prevent overheating
❌ Do not reverse voltage polarity
❌ Do not exceed 6V input
❌ Avoid continuous movement beyond designed limits — it’s not a continuous rotation motor unless modified
How to Control the SG90 (Arduino Example)
Arduino Code Sample
#include <Servo.h>

Servo myServo;

void setup() {
  myServo.attach(9);  // PWM pin
}

void loop() {
  myServo.write(0);    // Move to 0°
  delay(1000);
  myServo.write(90);   // Move to 90°
  delay(1000);
  myServo.write(180);  // Move to 180°
  delay(1000);
}
🛠 You can also control the servo using ESP32, Raspberry Pi (via RPi.GPIO or pigpio), or STM32 using HAL timers.
SG90 vs. MG90S – What’s the Difference?
| Feature | SG90 (Plastic Gear) | MG90S (Metal Gear) |
|---|---|---|
| Torque | 1.8 kg/cm | 2.2 kg/cm |
| Durability | Moderate | High |
| Weight | 9g | 13.4g |
| Noise | Low | Slightly louder |
| Cost | Lower | Slightly higher |
Choose the MG90S for heavy-duty projects. Stick with SG90 for lightweight builds or budget-sensitive designs.
Conclusion: Small Servo, Big Possibilities
The SG90 micro servo combines ease of use, affordability, and reliability in a tiny package. With just three pins and simple PWM control, it’s the go-to motor for makers, educators, and engineers around the globe. Understanding the pinout and best practices ensures smooth motion and long-term performance across your robotics and automation projects.
Happy Building!